Should I use mascara on my top lashes only
Mascara can often be an intimidating, unfortunate affair-particularly if you are in a hurry for time. An incorrect move and you could ruin all your attempts to apply your make-up.
You can learn in this article how about using mascara on top lashes. And you want the best bit to know? It is not going to take you more than one minute! So, if you are late at work or have to bring children down to school – without looking like a meerkat, you will have time to apply mascara!
All right, let us start!
Next, we will use the mascara on our lower lashes. If you do not want to wear a mascara on the lower pins, just skip stage one. But if you like me and love to mascara and not get enough of it at the top and the bottom of it, read on …
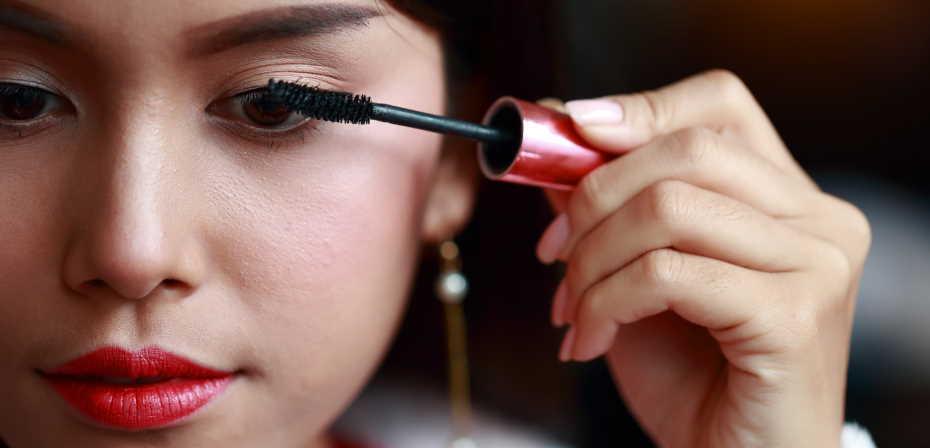
- Tilt your head softly with your mascara wand in your favorite palm.
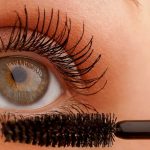
Looking straight into the Spiegel, first coat your bottom pins by almost ‘wiggling’ the bow from the root of your pins to the ends. Make sure you do not pull with the mascara wall in any way on your lower eyelid. The mascara’s shoes should always be just above the lower lashes so that the skin is exposed uniformly without moving the wall. You should now look muddy, separate and longer, your lower cloves.
- Dip your mascara back into the next application jar.
Do not pump up and down the mascara in the jar-it will all dry out. Turn the wall into the container instead-the liquid is picked up faster than the ‘pumping’ process.

- First, we are starting on the top sheet.
Start this time by tilting your head around, staring straight into the mirror again. Now, take your wand mascara and give your top pins a nice cover by gently moving the wand from the root to the tips of your pins in a slow zigzag movement.
If you want your lashes to look thicker and more dramatic, starting from the root of the lashes is necessary. In comparison to the darkness of your lashes, your eyes will also look brighter. Applying the mascara to the ends of the eyelids helps to stretch them. Again, as with the first move, your eyelids should not be tugged. Your head should stay turned back and your eyes should remain firmly set.